Requirements: CHeKT Bridge running firwmware 2.5 and later
Once your SightSensor has been configured, use the instructions below to connect to the CHeKT Bridge.
- Log in to your Dealer Portal, as shown.
Note: You need a previously created CHeKT Customer Account Site before you add SightSensors. Follow the CHeKT instructions if needed: (https://support.chekt.com/portal/kb/articles/creating-a-new-customer-account)
- Once Customer Account has been created, select the Customers icon from the left-side navigation, as shown.

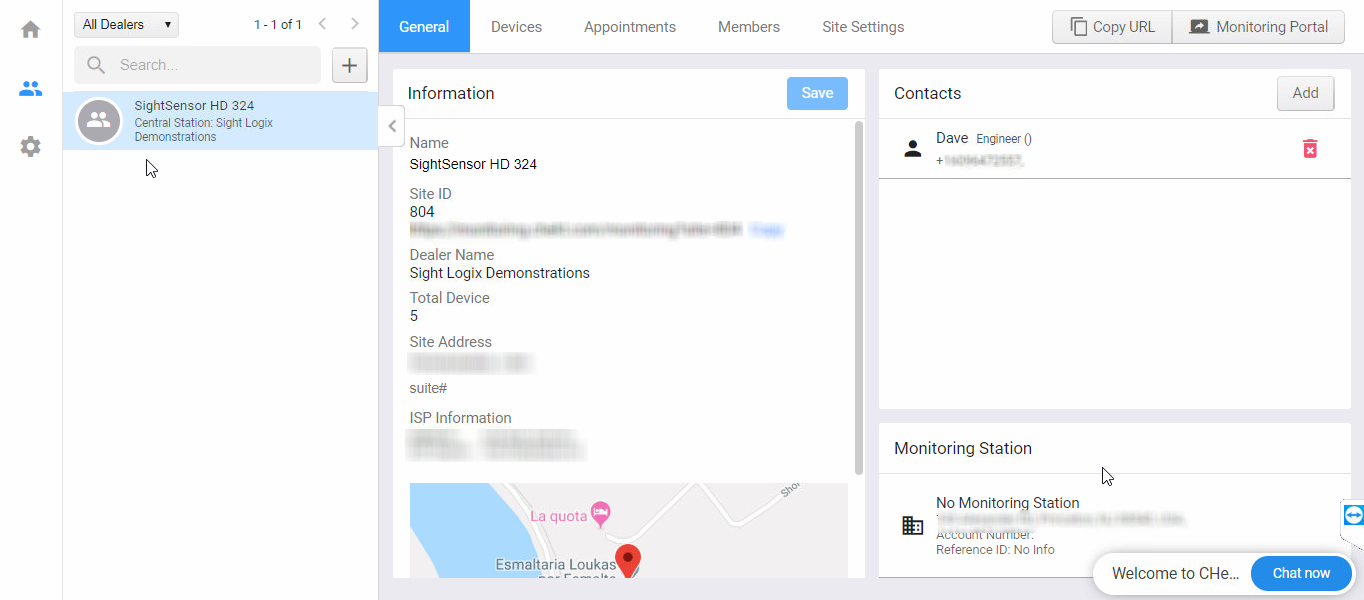
- You will see the list of Customers that have been created. Click the Customer Account to add SightLogix Devices. The details will display under Information, as shown.
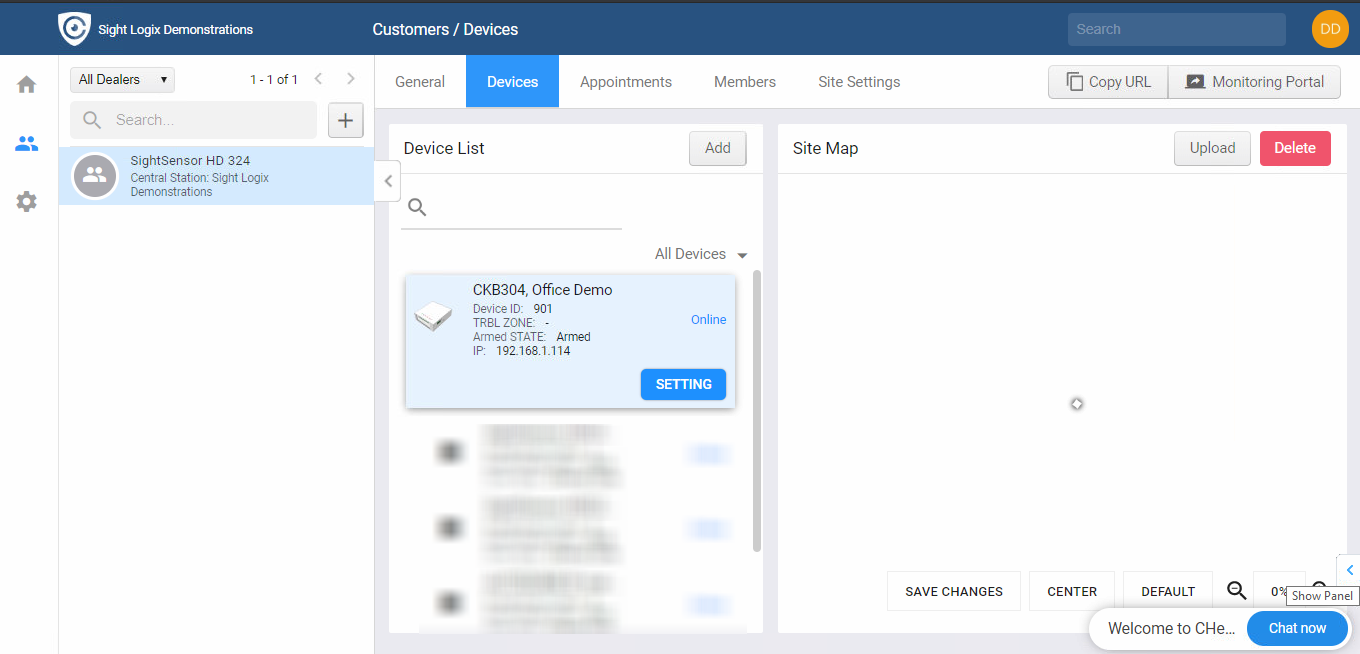
- Click the Devices tab. Add the CHeKT Bridge (if not already there).
- Once the CHeKT Bridge has been added, select it and click the Setting button.
- Confirm that your CHeKT firmware is 2.5 or higher which includes the remote access feature to your SightLogix device.

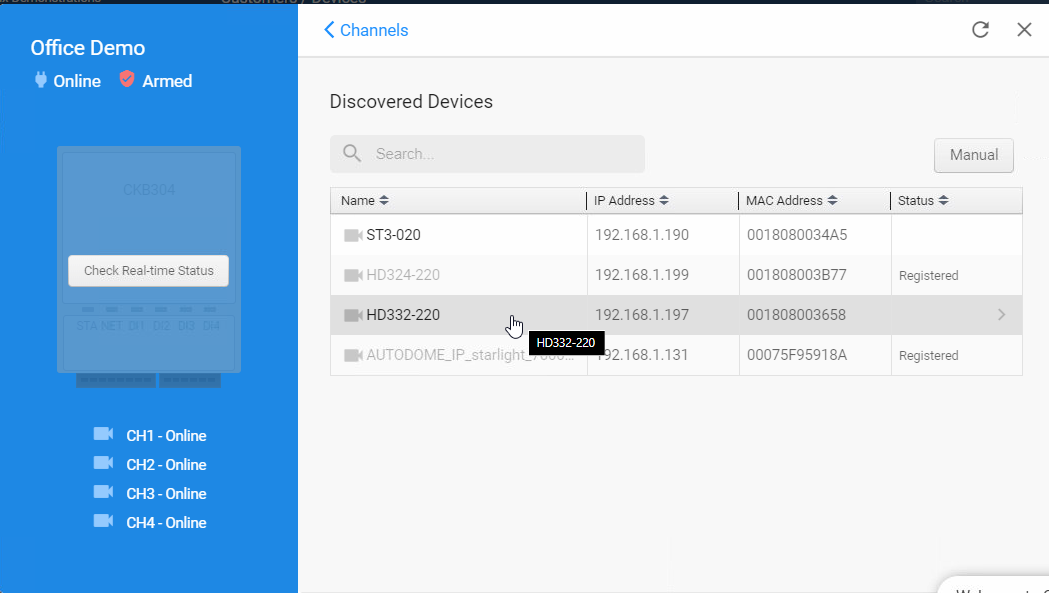
- Click Channels and then click Discovery to attempt an auto-discovery for your SightSensors.

- Click the SightLogix device to add to the CHeKT Bridge. Devices grayed out have already been added.
- Enter the default ONVIF credentials:
Username: service
Password: test1234
- Then click Authenticate.

The Select a Channel screen opens. There are two steams available in the SightSensor HD or TC, a visible and a thermal.
- Click CH1 and then click Select Channel.

A live snapshot opens showing the most recent image from the camera.
- Click Next to mount each stream to the Bridge.

The Mount dialog opens, with entries for users that are connecting to an alarm panel. Since this is not part of the SightLogix setup, click Finish.

Finally, the Mounting Status will verify the connections. When each step is verified the row will highlight in green with 'Success,' as shown.

- Click Close to complete.
Optionally, you can add a second channel (CH2, typically the thermal stream). Click Authentication to add the second channel and follow the steps above.
You will now see the devices and their status in the Device List, as shown.

Adding Remote Access to your SightLogix Device for Future Configuration
Now that you have added your SightLogix devices, you can remotely access your SightLogix device directly form the CHeKT portal. This offers an easy way to make changes to your SightLogix camera whenever needed.
Note that you must have Remote Access functionality enabled on your CHeKT account.
- To access your device remotely, select your SightSensor from the device list and click the Setting button.

- Select Remote Access from the Setting window.

If you do not have the Remote Access option enabled on your account, a pop-up will open showing instructions for enabling this functionality.
- Use the slider to define the amount of time you want the link to stay active. Then click the Create Access URL button.
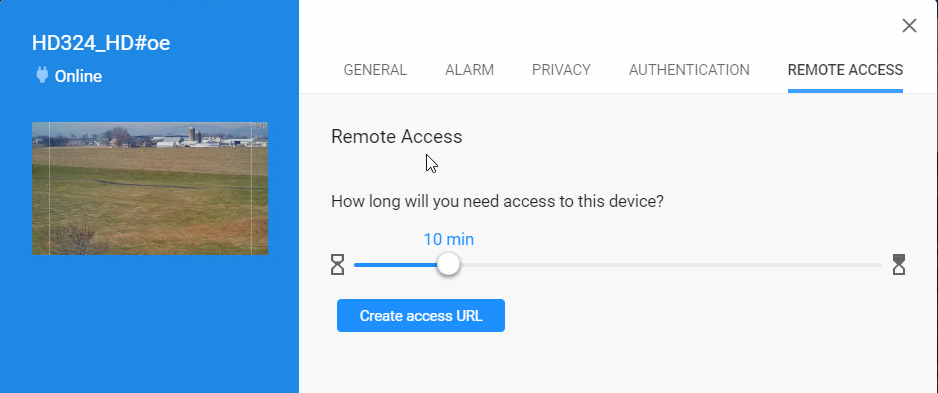
- The URL will be created, as shown. Click the link (or copy and send ) to access your SightLogix device, which will open in a browser.

Viewing Video and Alarms
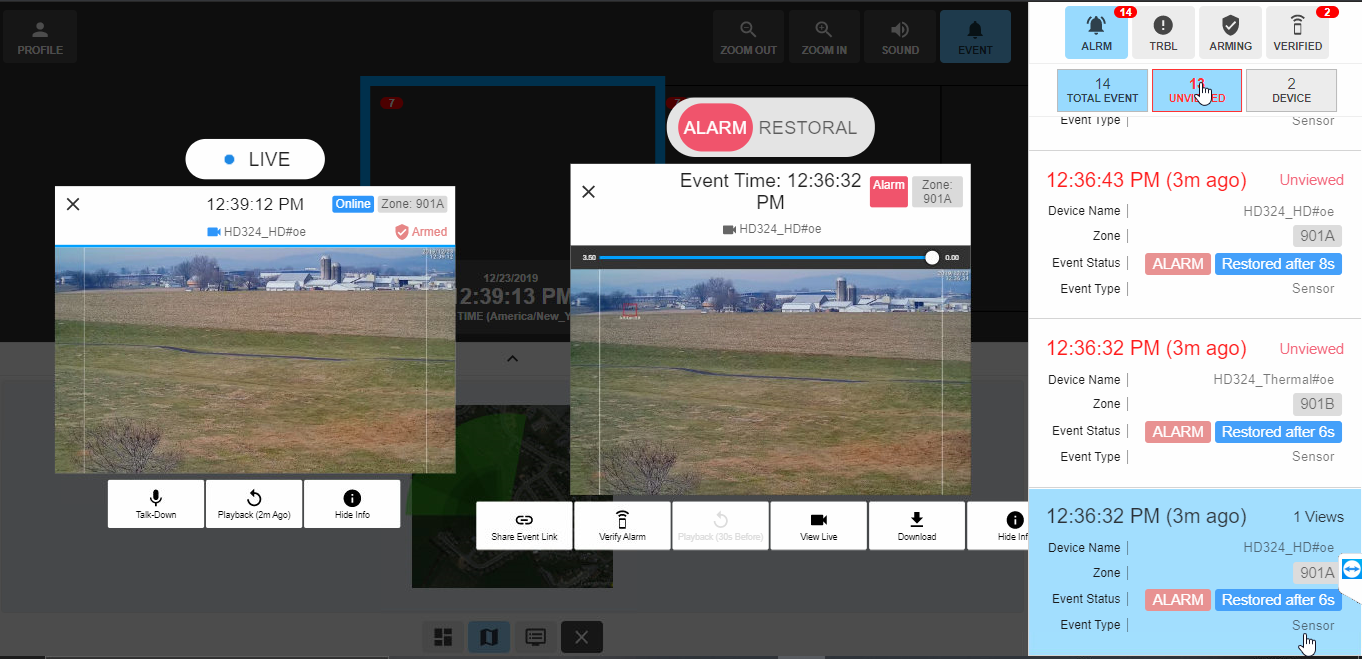
- To view live video and alarm clips, click the Monitoring Portal link at the upper right.

The Monitoring Portal opens, showing live video on the left and a looping clip of the current alarm at right. The column at right shows the alarm queue.
- Select an alarm for details.
Connecting to an Alarm Automation System
Visit the CHeKT portal to connect to third-party Alarm Automation systems, including Stages, Mastermind, Bold, and others: https://support.chekt.com/portal/kb/chekt/integrations