Tested with Luxriot 2.5.8
Tested with SightLogix Firmware 10.10.29 and 15.4.48
Add SightLogix Devices as an ONVIF Device
Adding Devices with SightMonitor
If you are using SightMonitor, follow these steps. If you are using WebConfig, scroll to the next section
- In SightMonitor, right-click your device, click Configure, choose the Camera tab, and set the VMS Type to either ONVIF H.264 (preferred) or ONVIF MPEG4.

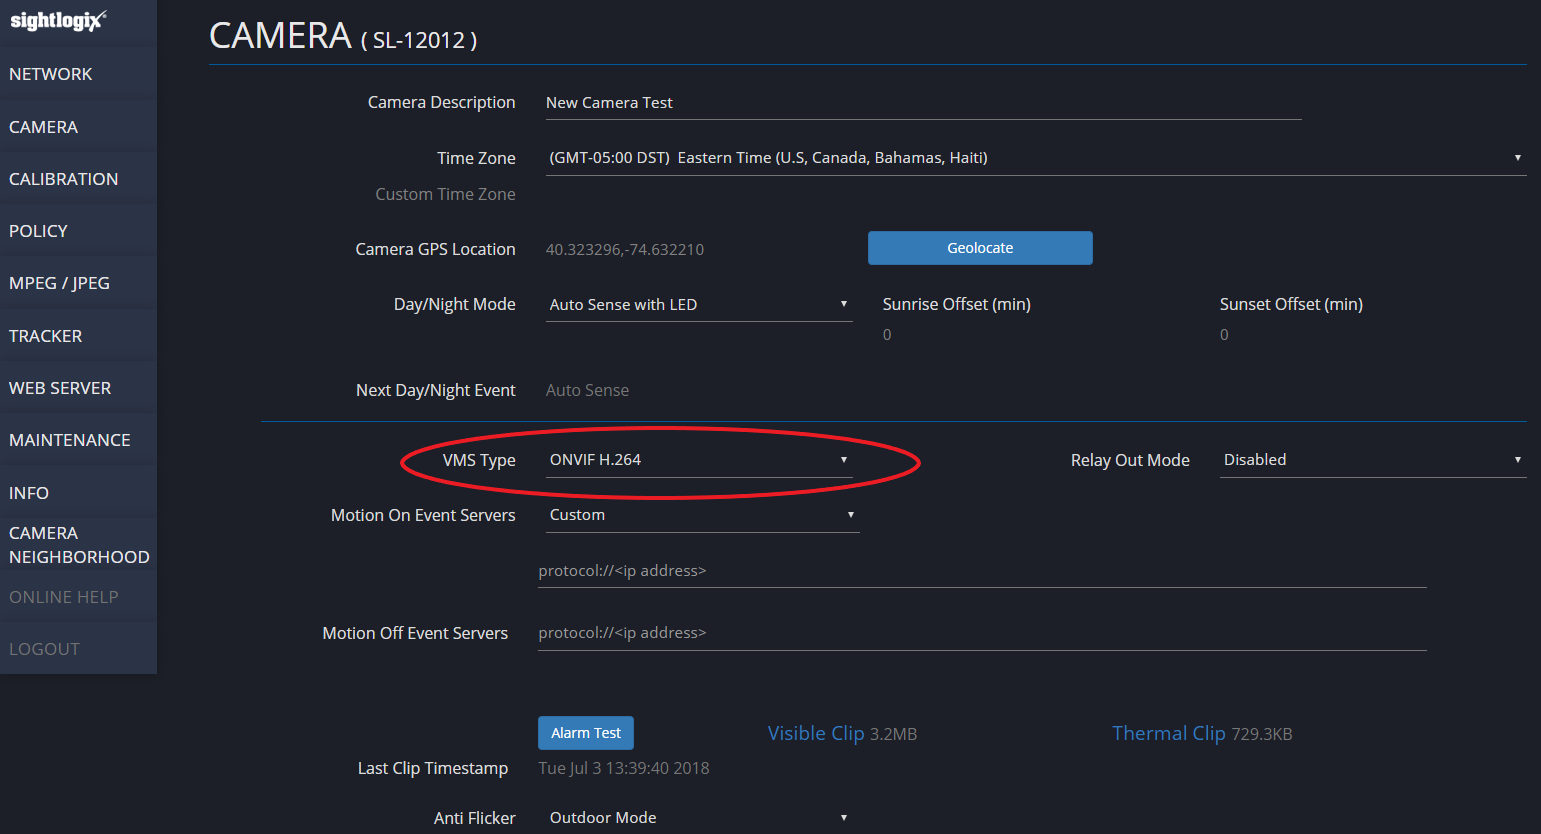
Adding Devices with WebConfig
- In WebConfig, go to the Camera tab and set VMS Type to either ONVIF H.264 (preferred) or ONVIF MPEG4
Adding a SightLogix Device to Luxriot
Sightlogix devices are added using the Camera Setup Wizard. The Camera Setup Wizard assigns names and sets up motion detection for each device. Recording settings also use the Camera Setup Wizard.
- In Luxriot, right-click the Video link from the left-side navigation to start the Camera Setup Wizard.

- Select Network Devices(IP Cameras, Video Server) under Add New Devices, and click Next.


- Enter a Device title for your camera and click Next.

- Select Generic for the Manufacturer and choose ONVIF Compatible for the model. Click OK.

- The Properties window opens. Enter the camera IP address, and enter the default User Name service and default Password test1234. Click OK.


- You are returned to the Camera Setup Wizard, as shown. Click Next to open the Alarm Settings window.

Enabling Video and Motion Detection
- Select the Camera Motion Detect radio button and click Next.

- Check the Video and the Video Motion Information boxes and click Next.

- The Action Summary window opens. Review the information and click Next.

- The Camera Setup Wizard is complete. Click Finish.

Viewing Archived Video and Checking Alarms
- Click the SightLogix device's archive from the left-side navigation. The archive name matches the camera name previously defined.

- The video archive opens, with bookmarks of alarms, as shown.
