Tested with Bosch VMS 7.5 and 8.0
Tested with SightLogix Firmware 10.10.48 and 15.6.85
Add SightLogix Devices as an ONVIF Device
Adding Devices with SightMonitor
If you are using SightMonitor, follow these steps. If you are using WebConfig, scroll to the next section
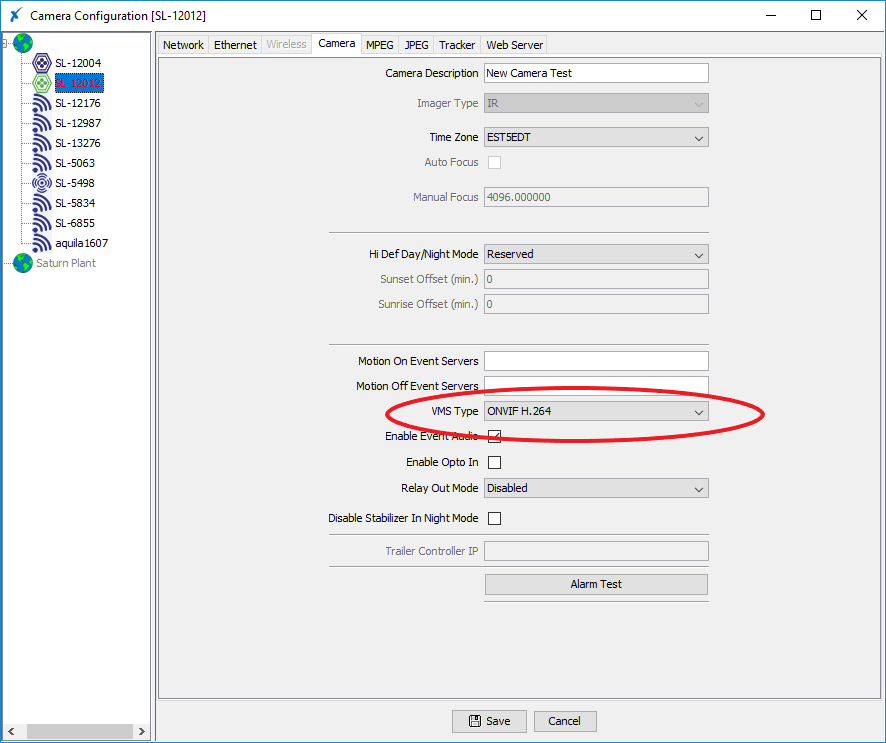
- In SightMonitor, right-click your device, click Configure, choose the Camera tab, and set the VMS Type to either ONVIF H.264 (preferred) or ONVIF MPEG4.
Adding Devices with WebConfig
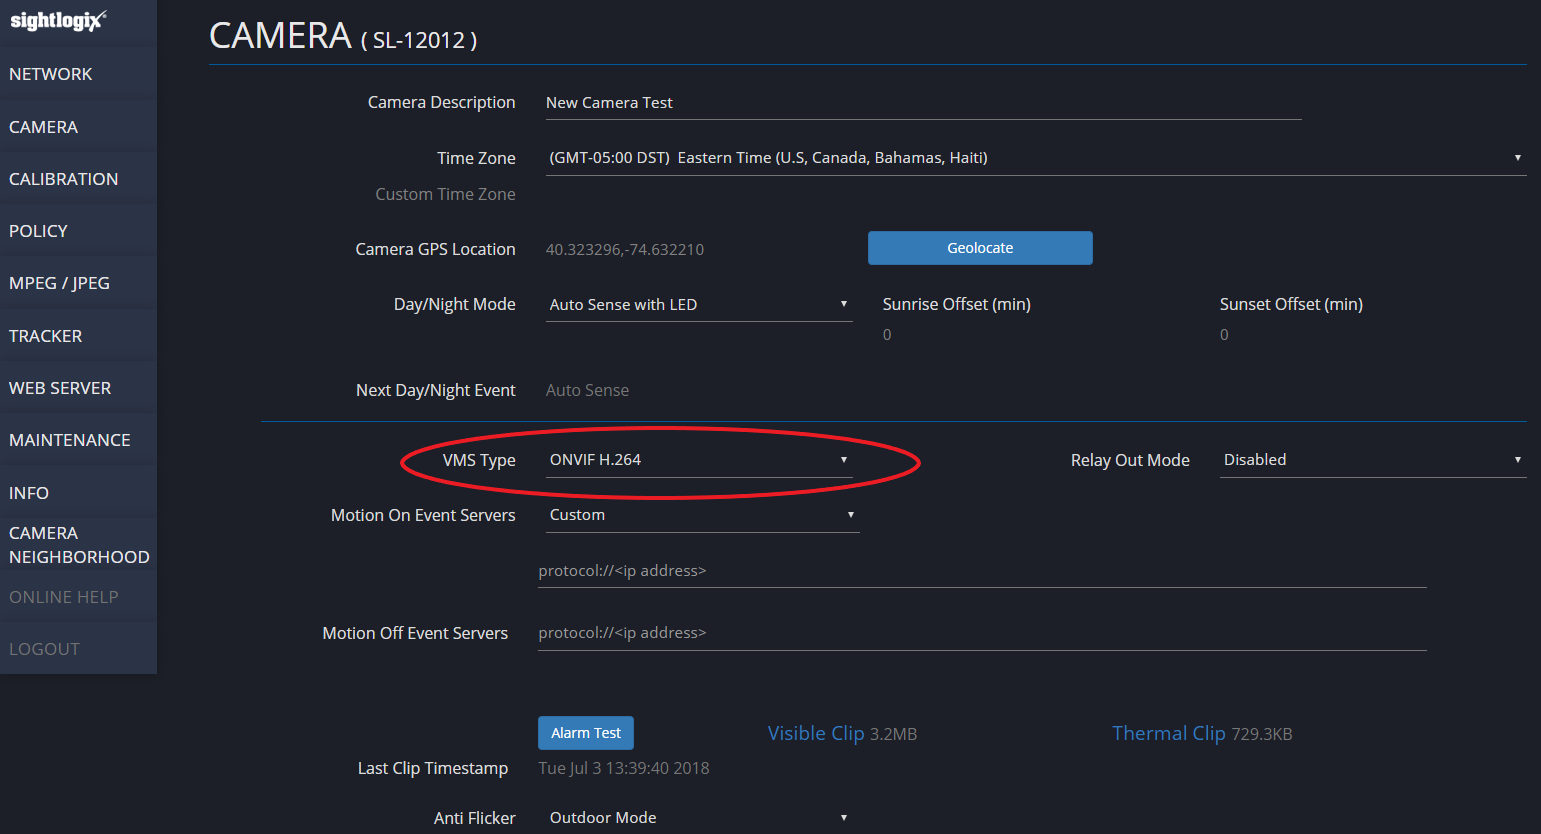
- In WebConfig, go to the Camera tab and set VMS Type to either ONVIF H.264 (preferred) or ONVIF MPEG4
Next, add devices individually as ONVIF units.
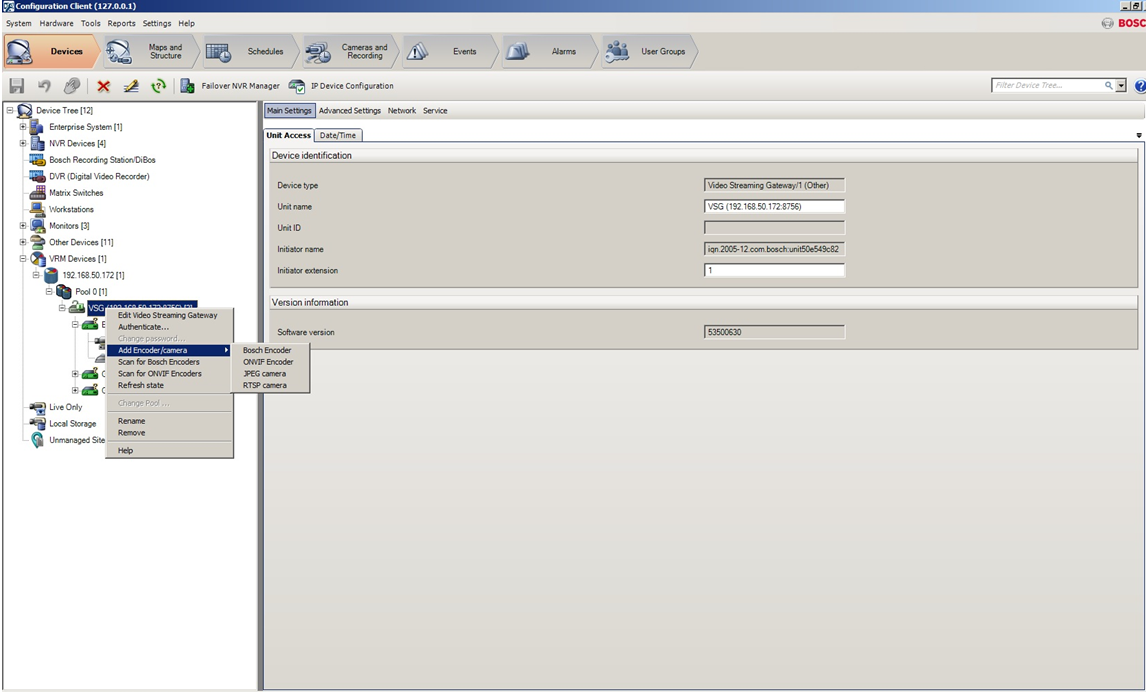
- Login to BVMS Configuration Client. Under VRM devices select the Video Streaming Gateway (VSG) and right click to add Encoder/Camera. Select ONVIF Encoder.
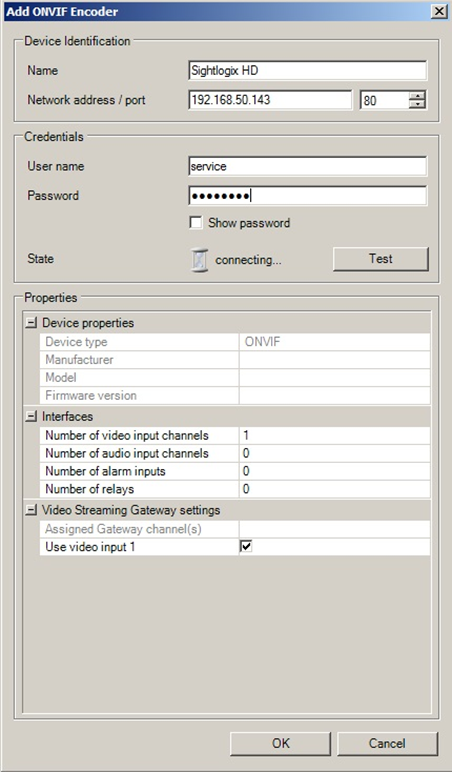
- Enter the Camera information. Default username/password is service/test1234. Click OK.
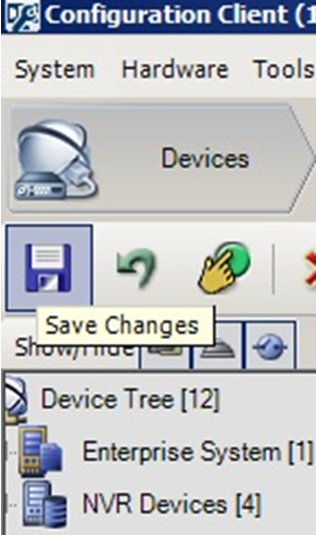
- Save the configuration by clicking Save on upper left.
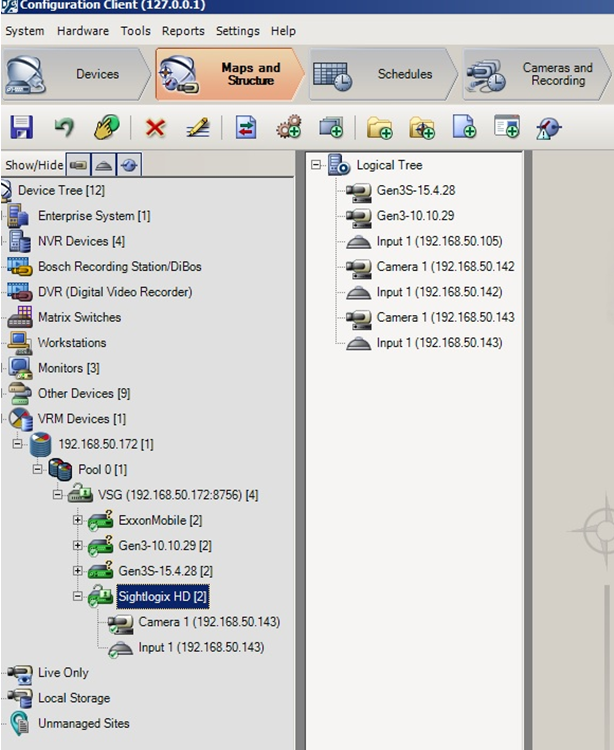
- Select the Maps and Structure tag (at top) and drag the camera from the left pane into the Logical Tree.
Setting Alarms
Once you’ve added cameras, create and configure alarms as follows:
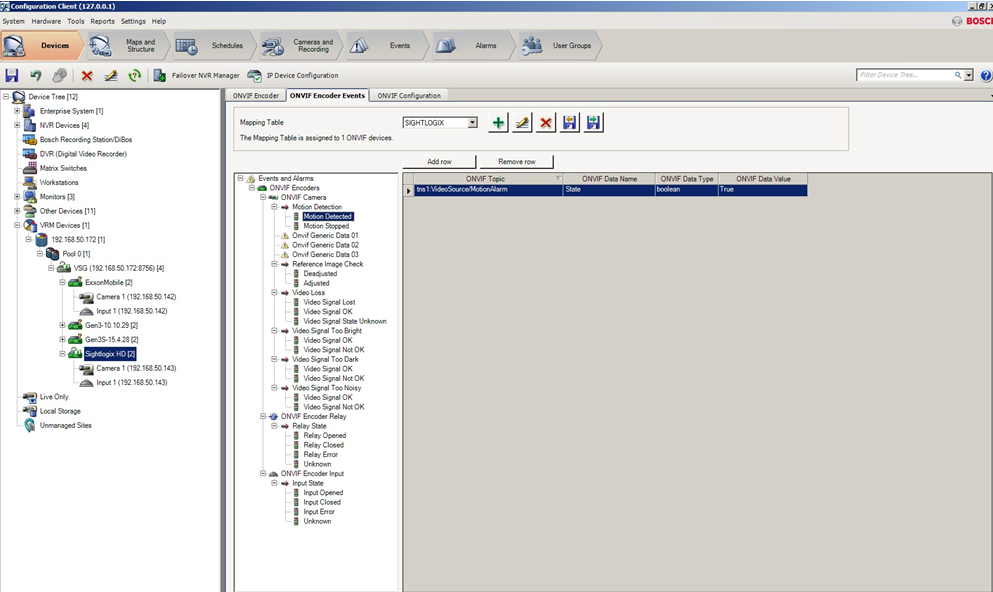
- Click the Device tab on top. Select the newly added camera.
- Click the ONVIF Encoder Events tab.
- Click the “+” button to add a new Mapping Table.
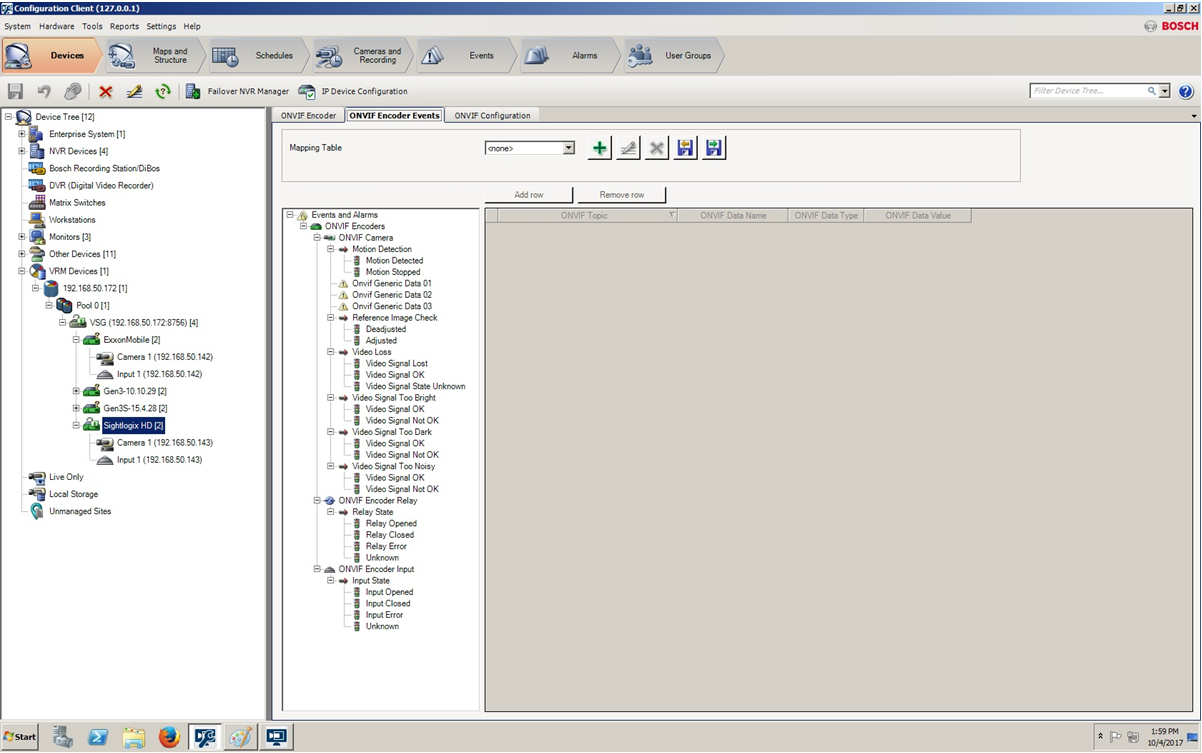
- Enter the information and click OK.
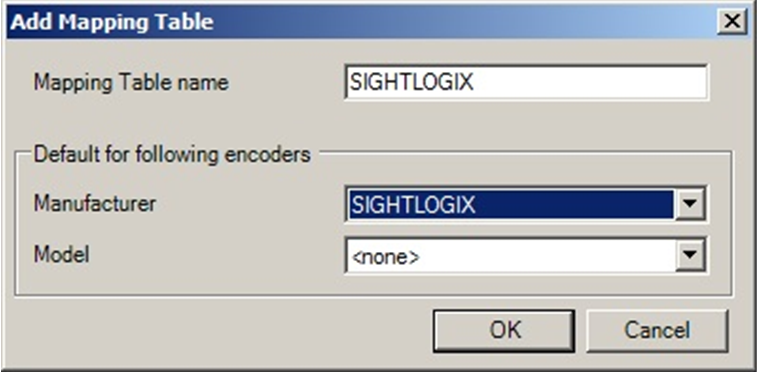
- Highlight Motion Detected in the middle pane. You may add more events to fit your requirements.
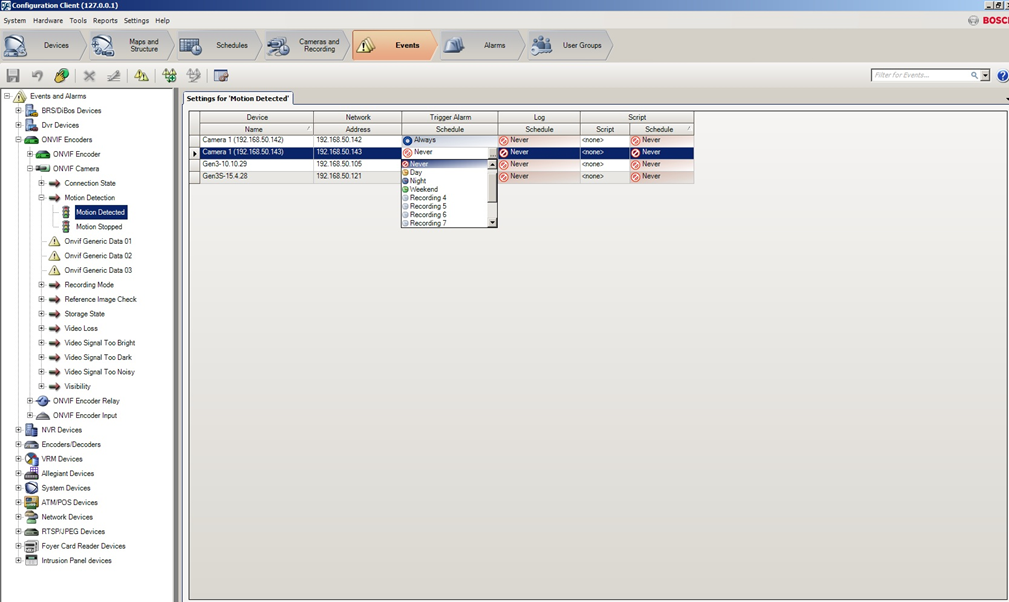
- Click the Event tab on top. Select Motion Detected under ONVIF Camera - Motion Detection on the left menu. Select the newly added camera and under Trigger Alarm Schedule change from Never to Always.
- Repeat this process for Motion Stopped. Select Motion Stopped under ONVIF Camera - Motion Detection on the left menu. Select the newly added camera and under Trigger Alarm Schedule change from Never to Always.
- Click Save.

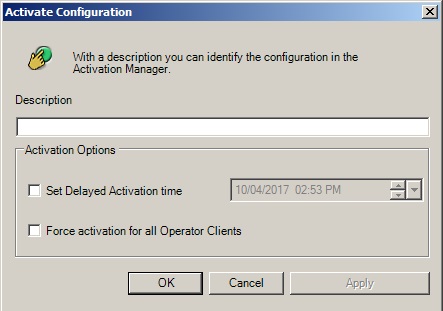
- Click Activation button to activate saved configurations.
- Complete the entries and click OK.
Viewing Video and Alarms
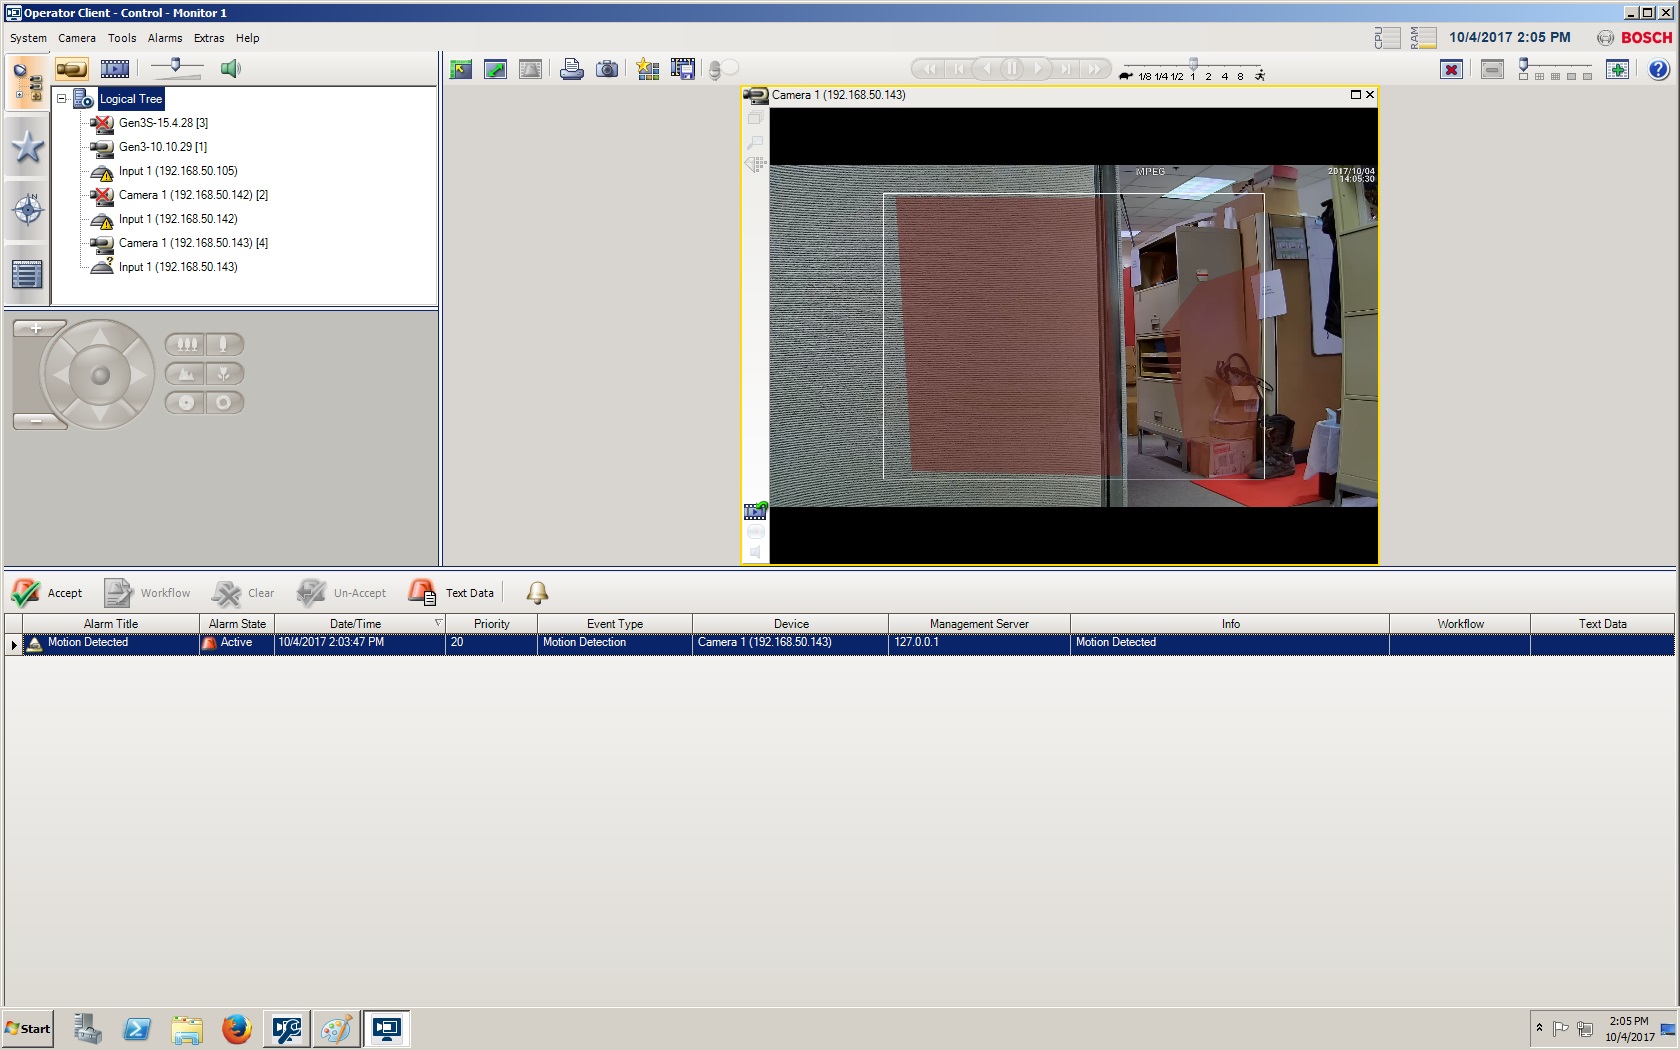
Open BVMS Operator Client to view the video and alarms.
